 United States (English)
 Russia (Pусский)
 France (Français)
 China (中文)
 Spain (Español)
 Germany (Deutsch)
 Portugal (Português)
 Slovakia (slovenský jazyk)
 Australia (English)
 New Zealand (English)

How to Fix a Changeover Switch That Stucks Between Line and Generator
The mains power fails. You rush to the generator changeover switch, grab the handle, and turn it – but it jams halfway. Neither the generator nor the utility line is connected. The entire building is left in the dark. This is a critical moment, and forcing the handle could make things worse. This article gives you a step‑by‑step emergency diagnostic flow and temporary fixes to get your power back safely.
Do Not Force the Handle
When the handle is stuck in the middle, your first instinct might be to apply more muscle. Resist that urge.
-
Forcing the handle can bend or break the internal interlock mechanism, which is designed to prevent both power sources from being connected at the same time. If that interlock fails, you could back‑feed the grid – a deadly hazard for lineworkers.
-
Even if the interlock holds, brute force can push the moving contacts into a half‑engaged position, causing severe arcing that melts contacts and starts a fire.
-
Correct procedure: If it is safe to do so, open the main incoming breaker and turn off the generator. Then remove the switch cover for inspection. Always treat the switch as live until you have verified zero voltage on both sides.
Cause A – Mechanical Obstruction in the Interlock Mechanism
This is the most common culprit, especially for changeover switches that have been in service for more than five years. Dried‑out lubricant, dust, and tiny debris accumulate around the sliding fork, cam, or rotating shaft.
Diagnosis: Remove the front panel and observe the mechanical linkage. Move the handle gently – do you see any foreign matter or sticky residue? Sometimes a small insect or piece of insulation can block the travel path.
Temporary fix: With the power off, spray a small amount of WD‑40 or a similar penetrating oil onto the moving mechanical parts. Then gently rock the handle back and forth – do not use full force. The lubricant often dissolves the gunk and frees the mechanism after a few cycles.
Important: Keep the spray away from the contact surfaces themselves. Oil on the silver‑alloy contacts will increase resistance, cause overheating, and eventually burn the contacts. Use a piece of cardboard as a shield if needed.
One Set of Contacts Welded Shut
If the previous transfer occurred while a large inductive load was running, the breaking arc might have been intense enough to weld the moving and fixed contacts together. This physically locks the mechanism because the welded contacts cannot separate.
Symptoms: The handle feels stuck, and you may smell a sharp, burnt odour. After removing the cover, you might see small molten beads or discolouration on one set of contacts.
Solution: Do not attempt to file or grind the contacts in the field. Welding often damages the contact spring tension and surface plating. The only reliable fix is to replace the entire contact assembly or the whole changeover switch. This is a job for a qualified electrician with the correct replacement parts.
Misalignment Between Handle and Shaft
Plastic handles age – they warp, crack, or lose their grip on the metal shaft. Alternatively, the setscrew that locks the handle to the square drive shaft may have loosened over time due to vibration.
Diagnosis: Remove the handle. Then use an adjustable wrench or pliers to turn the square shaft directly. If the shaft rotates smoothly and fully to both positions, the problem is definitely in the handle or its keyway.
Fix: Replace the handle with a new one. If the shaft is worn, you can sometimes reposition the handle by 90° or 180° and re‑tighten the setscrew, but this is a temporary bodge. For a permanent solution, order the correct handle and key.
Overload or Short Circuit During Transfer
Some changeover switches incorporate an overcurrent trip mechanism similar to a miniature circuit breaker. When an overload or short circuit occurs exactly at the moment of transfer, the trip unit activates and pushes the mechanism into a neutral, centre‑off position – deliberately locking the switch out to protect itself.
Check: Look for a small reset button on the front or side of the switch. Press it firmly – you should feel a click. After resetting, the handle should move freely again. If that works, you have identified the root cause. Before re‑energizing, reduce the connected load or clear the short circuit, then perform a normal transfer.
Emergency Bypass Procedure
If the switch cannot be freed and you need power immediately, follow this bypass strictly as a last‑resort measure – and only if you are a licensed electrician.
-
Turn off the generator and open the utility main breaker. Verify dead front on both supply sides.
-
Prepare insulated jumper cables of adequate ampacity.
-
Bypass the changeover switch by directly connecting the load side to either the utility or the generator terminals.
-
Alternatively, unbolt the entire switch from its mounting and short the internal terminals with proper connectors – again, only for emergency power restoration.
-
Once power is restored, do not leave this bypass in place. Immediately schedule a permanent repair or switch replacement. This setup has no overcurrent protection and no interlock – it is extremely dangerous.
Preventive Maintenance for Changeover Switches
The best fix is to prevent the stuck condition altogether. Add these items to your annual maintenance schedule:
-
Exercise the switch without load – every 6 months, perform 3 to 5 dry transfers (disconnect all loads first). This redistributes lubricant, cleans light oxidation off the contacts, and confirms that the mechanism moves freely.
-
Visual contact inspection – once a year, remove the cover and check for pitting, discolouration, or signs of overheating. If you see any blackening, consider replacing contacts early.
-
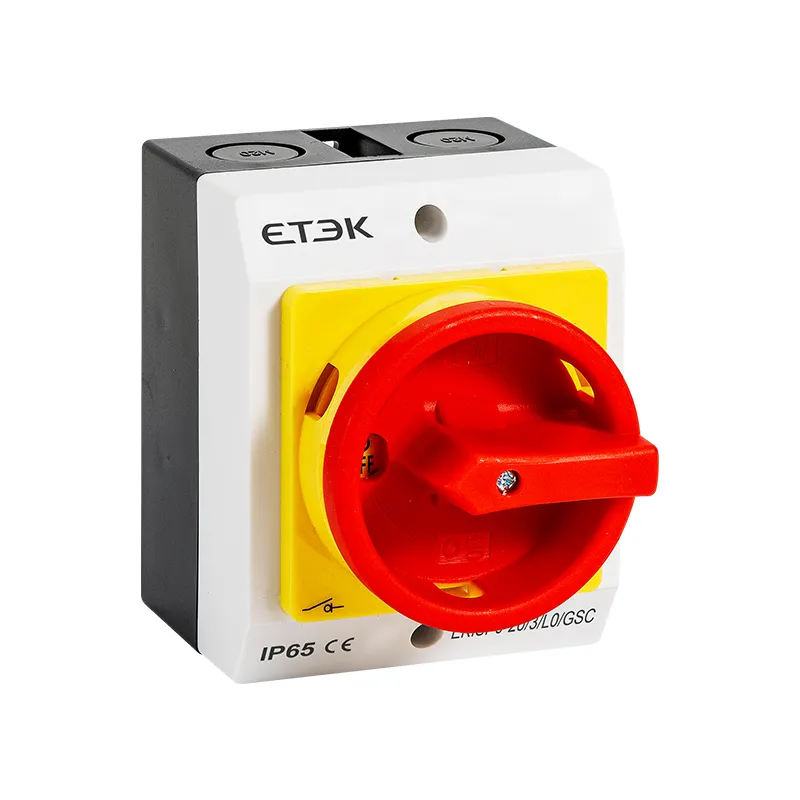
Environmental protection – if the switch is installed in a damp, dusty, or corrosive location, use a model with at least IP65 rating (dust‑tight and water‑resistant). Regularly clean the enclosure and check gaskets.
-
Operation count log – most manual changeover switches are rated for about 5,000 mechanical operations. Keep a simple tally. When you approach that number, proactively replace the switch before it fails in an emergency.
Frequently Asked Questions
Q: Can I lubricate the changeover switch contacts?
A: Absolutely not. Contacts must remain clean and dry. Only lubricate the mechanical linkage – shafts, cams, and sliding parts – and use a non‑conductive, non‑corrosive oil sparingly.
Q: What if the switch is stuck in the generator position during a storm?
A: If you cannot move it back to the utility position, leave the generator running and continue supplying power. Do not attempt forced repairs in bad weather. Wait until the storm passes, then isolate and troubleshoot safely.
Q: Do automatic transfer switches (ATS) suffer the same problem?
A: Yes, but less often because they are motor‑driven. If an ATS jams, many models have a manual override handle or bypass switch. Refer to your specific ATS manual – if the motor is burned out, you may need to engage manual operation or call a service technician.
When to Replace Rather Than Repair
Repair is not always cost‑effective. Consider a full replacement if:
-
The interior shows clear signs of burning, melting, or arcing damage beyond surface pitting.
-
The switch is more than 10 years old, and spare parts are no longer available.
-
The cost of a new switch is less than one hour of a skilled electrician’s labour plus the downtime losses you incur while waiting for repairs.
In many commercial settings, replacing an old, unreliable changeover switch with a modern unit is the smartest long‑term investment.